 SCREEN
📌 Quick Summary: You just spent $1,000+ on a new iPhone. The last thing you want is to discover a hidden screen defect a month after the return window closes. In my workshop, I see this happen every single week. This guide gives you my exact 30 second visual test sequence to check for dead pixels, OLED burn-in, and touch issues. Run it before you peel off the protective film it could save you hundreds of dollars and a lot of frustration.
I still remember the pit in my stomach. A customer brought me her brand new iPhone 15 Pro Max. She was beaming with excitement. Then she opened a white webpage and froze. There it was: a single, stubborn green dot in the corner. She hadn't noticed it in the store. She hadn't noticed it during setup. She only noticed it three weeks later, after the 14 day return window had slammed shut.
Apple's warranty policy on a single stuck pixel? Often "within spec." She was stuck with it.
As a display technician who has inspected thousands of screens, I can tell you this: the first 30 minutes with a new iPhone are the most critical. Not because the phone is fragile, but because your eyes are fresh. You haven't adapted to the screen's quirks yet. If you run a proper test before you get used to looking at it, you will catch defects that would otherwise hide in plain sight for weeks.
This is the exact 30 second test I use in my workshop. No apps. No downloads. Just your iPhone, a dark room, and a few solid colors.
The first 30 minutes with a new iPhone are your best chance to catch a defect.
Why the 30 Second Test Matters More Than You Think
Here is a hard truth that most tech reviewers won't tell you: OLED panels are not perfect. The iPhone uses an OLED display, which is stunning for contrast and color, but it is also more prone to certain defects than the LCD screens of the past [citation:3][citation:14].
These defects are usually invisible on a colorful home screen or a dark video. They only reveal themselves on solid, uniform colors. A dead pixel hides on a black background. A stuck pixel is a bright dot that you might mistake for a notification. And a faint ghost image (burn-in) is almost impossible to see unless you look at a solid gray screen [citation:3].
If you wait until week three to notice a problem, you are at the mercy of Apple's warranty thresholds. According to industry standards and internal documents, Apple often requires multiple defective pixels before authorizing a replacement sometimes as many as 3 to 7 depending on the screen size [citation:5][citation:11].
But if you catch it on day one, you have the 14 day return window. You walk into the store, show them the defect, and walk out with a brand new phone. No arguments. No "within spec" excuses.
The 30 Second Pre-Test Checklist
Before you open the test tool, do these three things. If you skip them, your results will be inaccurate.
1. Clean the Screen (Properly)
Use a clean microfiber cloth. A single speck of dust on a white screen looks exactly like a dead pixel. A smudge on a black screen can look like a bright stuck pixel. Clean the glass, then wipe it again [citation:3].
2. Turn Off True Tone and Night Shift
Go to Settings > Display & Brightness. Turn off True Tone and Night Shift. These features change the color temperature of your screen based on the ambient light. If they are active, you will not see the true colors, and you might misdiagnose a color uniformity issue [citation:3].
3. Set Brightness to 100%
Pull down the Control Center and slide the brightness to maximum. Defects are easiest to spot at full brightness. More importantly, testing at maximum brightness mimics the worst case scenario for OLED degradation. If a defect is invisible at 100%, it is not a significant problem [citation:3].
Step 1: The Black Screen Test (For Stuck Pixels)
Open our free Screen Medic diagnostic tool in Safari and enter fullscreen mode. The first color you should look at is pure black.
Take the phone into a completely dark room a closet or a bathroom with no windows. Hold the phone at your normal viewing distance and scan the entire screen.
What you are looking for: A bright red, green, blue, or white dot. These are stuck pixels. They are receiving power but the liquid crystals are frozen in one position. They cannot turn off [citation:8].
What you should see: Nothing. A perfect black screen. If you see a faint glow around the edges, that is normal for OLED. But a sharp, distinct dot of color is a defect.
If you find a stuck pixel, don't panic yet. About 70% of stuck pixels can be fixed at home using a software cycling method. I cover the exact process in my guide on The Stuck Pixel Fix That Actually Works [citation:8].
Step 2: The White Screen Test (For Dead Pixels)
Now switch the tool to display a pure white screen. Keep the brightness at 100% and stay in the dark room.
Scan the screen slowly. Look at the corners, the edges, and the area around the Dynamic Island.
What you are looking for: A tiny black dot. This is a dead pixel. The transistor that controls it has failed completely. No signal reaches it. It is permanent [citation:15].
What you should see: A uniform, bright white screen. If you see a faint gray smudge, that is usually a pressure mark or a scratch on the glass, not a pixel defect.
Dead pixels are the one defect that cannot be fixed. If you find one on a brand new iPhone, you should return it immediately. For a full breakdown of Apple's warranty policy and your options, read my Complete Dead Pixel Guide [citation:15].
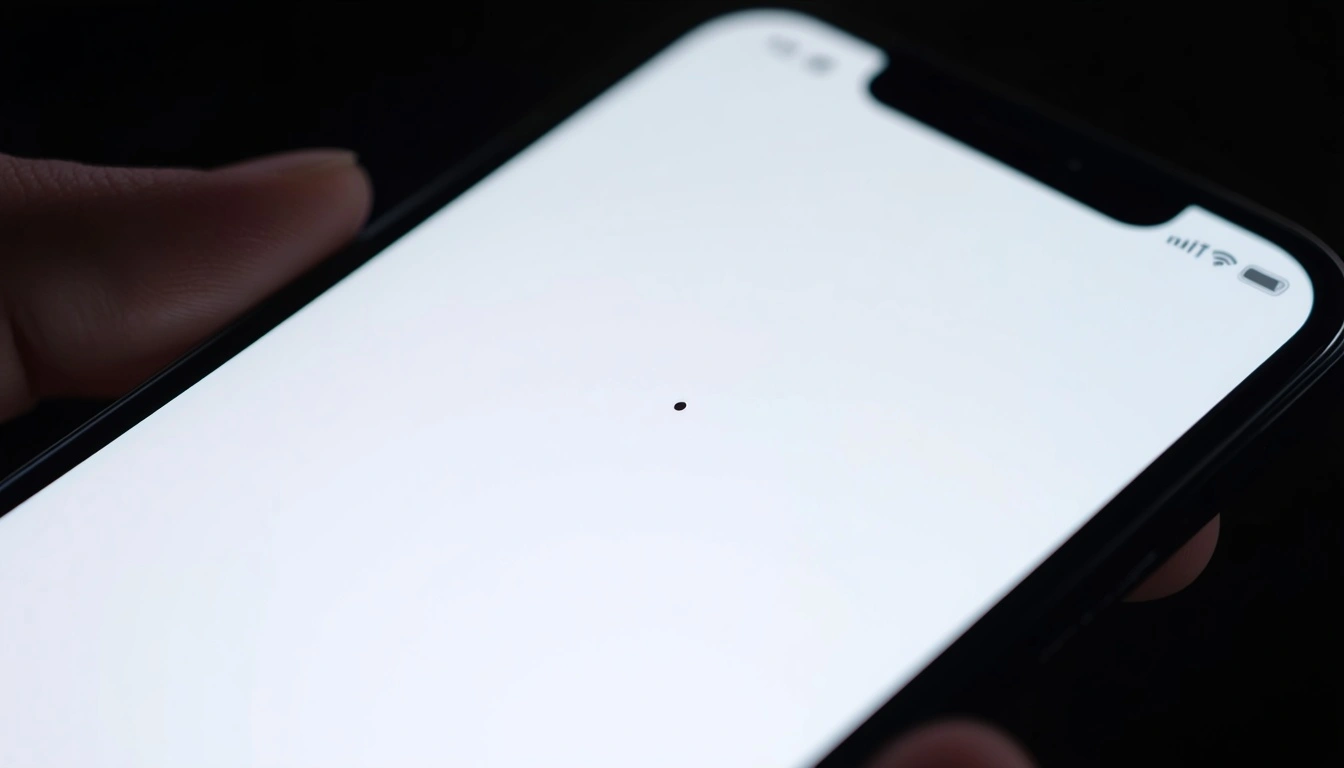
The white screen test is the fastest way to reveal a dead pixel.
Step 3: The Gray Screen Test (For OLED Burn-in and Uniformity)
This is the step most people skip and it is the most important one for modern iPhones.
Switch the tool to a 50% gray screen. Stay in the dark room.
What you are looking for: Faint, ghostly outlines. A faint rectangle where the keyboard usually sits. A ghost of the status bar. Or an uneven, blotchy texture across the screen some areas looking slightly pinker or dimmer than others [citation:3].
What it means: If you see a ghost image, it could be image retention (temporary) or true burn-in (permanent). On a brand new phone, you should not see either. If you do, it is a manufacturing defect.
If the gray screen looks uneven a "dirty" patch in one corner, or a yellow tint on one edge that is a uniformity issue. This is common on older, used phones, but it is unacceptable on a new device.
For a deep dive into the difference between temporary image retention and permanent burn-in, read my Complete Screen Burn-in Guide.
Step 4: The Color Cycling Test (For Sub Pixel Defects)
Now let the tool cycle through red, green, and blue screens. Spend about 5 seconds on each.
This test reveals sub pixel defects a single red, green, or blue sub pixel that is stuck or dead. These are often invisible on a white or black screen because the other sub pixels compensate. But on a solid color, they stand out.
- On a Red screen: Look for a bright green or blue dot.
- On a Green screen: Look for a bright red or blue dot.
- On a Blue screen: Look for a bright red or green dot.
If you find one, you are dealing with a sub pixel defect. The same rules apply: return the phone if you are within the window.
Step 5: The Touch Test (For Digitizer Issues)
This is not a color test, but it is essential. Your iPhone screen is also a touch digitizer. A defect in the digitizer will not show up in any color test, but it will make the phone frustrating to use.
Open the Notes app and select a thick pen. Draw a continuous line across every inch of the screen. Go around the edges, through the corners, and across the center.
What you are looking for: A break in the line. If the line stops or jumps, the touch panel is not registering your finger in that specific spot. This is a hardware defect [citation:3].
It is rare, but it happens. And it is much easier to demonstrate to an Apple Genius than a faint pixel.
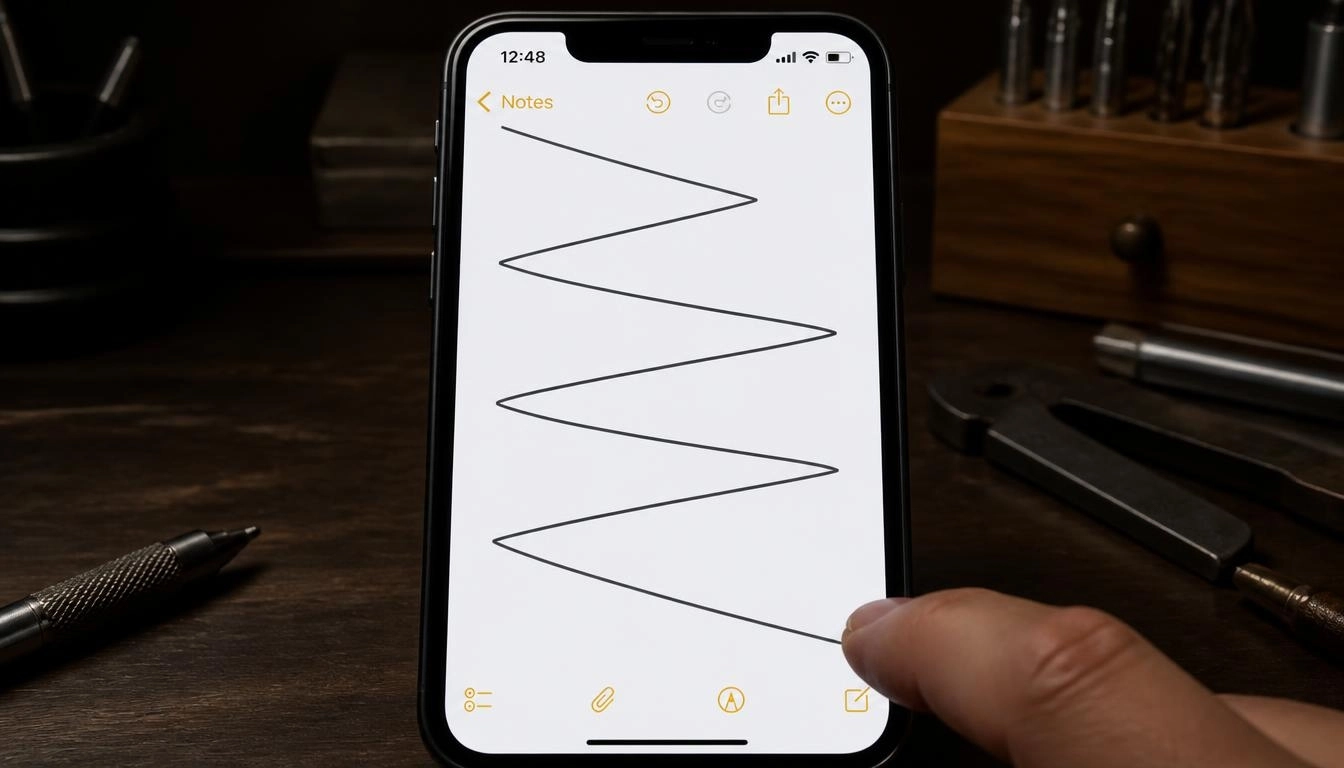
The touch test reveals digitizer issues that color tests cannot detect.
What to Do If You Find a Defect
Here is the honest, no nonsense advice I give to every customer who walks into my workshop.
If you are within 14 days (New Purchase)
Return it. Do not accept a repair. Do not accept a "within spec" excuse. Apple and its authorized resellers have a 14 day return policy. Use it. A new phone should have a perfect screen [citation:3].
If you are past 14 days but within the 1-year warranty
File a warranty claim. Apple is generally good about replacing screens with visible dead pixels or severe burn-in. However, they may refuse a claim for a single dead pixel that is considered "within spec." Document the defect with clear photos on a solid gray background, and be persistent [citation:3][citation:15].
If you bought the phone used
You are in a tougher spot. If you have a dead pixel, you might have to live with it. If you have burn-in, you can try running a pixel refresher video on YouTube for a few hours (though results vary). For a complete guide to buying used devices safely, read my article on How to Test a Used Monitor Before Buying.
The One Mistake Everyone Makes
The biggest mistake I see is people testing their screen using a static image they found on Google. They zoom in on a photo of a white screen, and the compression artifacts make it look like there are defects everywhere.
Do not do this. Use a proper diagnostic tool like Screen Medic. It generates true full screen colors without compression artifacts [citation:3].
Another mistake is testing in a brightly lit room. Ambient light washes out the screen and hides faint burn-in. Always test in a dark room for accurate results.
Why I Built This Tool for iPhone Owners
I built Screen Medic because I was tired of seeing people get ripped off. I was tired of hearing the same story: "I bought a new iPhone and it had a dead pixel, but I didn't notice until it was too late."
Our tool is free, it runs in your browser, and it doesn't track your data. It is the same diagnostic sequence I use in my workshop. Whether you are checking a new phone, a used one, or a phone you just got back from repair, you can run the test in 30 seconds [citation:3].
If you want to test other devices, we also have a Universal Screen Test Guide that covers laptops, monitors, and TVs.
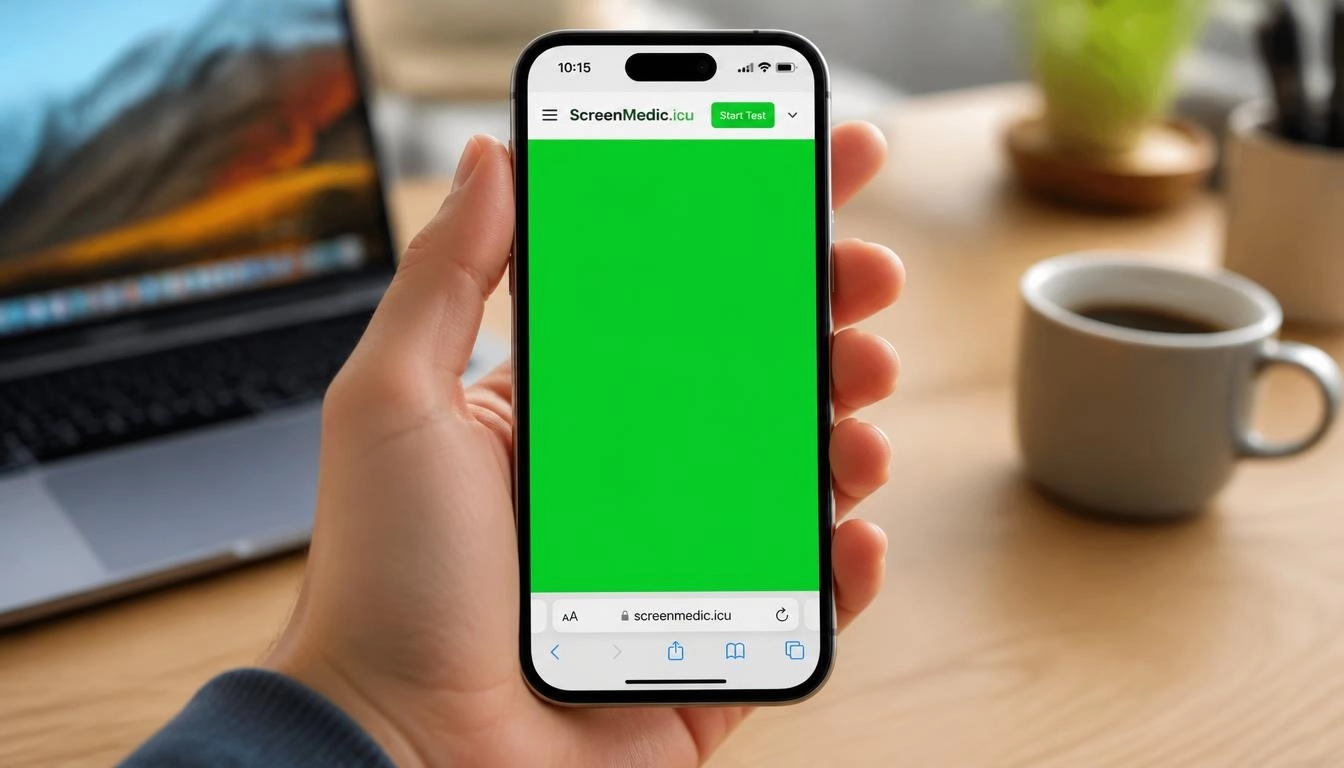
The free Screen Medic tool works on any iPhone, no download required.
Frequently Asked Questions (FAQ)
Can I fix a dead pixel on a new iPhone?
No. A dead pixel is a permanent hardware failure. No software, no pressure, and no app can fix it. The only solution is a screen replacement by Apple or an authorized repair shop [citation:15].
Does Apple warranty cover a single dead pixel?
It depends. Apple's official policy often requires a certain number of defective pixels before authorizing a replacement. However, they are usually more flexible within the 14 day return window. If you are within that window, return the phone [citation:3][citation:5].
How do I know if my iPhone screen is original?
The most reliable way is to check for the True Tone toggle in Settings > Display & Brightness. If it is missing, the screen has likely been replaced with a non original part. You can also check the serial number with Apple [citation:3].
Is it normal for an OLED iPhone screen to look slightly grainy?
On a pure white screen at low brightness, some OLED panels can exhibit a very subtle "grain" or texture. This is a normal characteristic of the technology and is not a defect. However, if the grain is severe or accompanied by visible lines, it could be a sign of a faulty panel [citation:3].
Can I use an app to test my iPhone screen?
Yes. There are apps on the App Store that offer screen tests. However, our browser based tool is faster, requires no download, and runs entirely in your browser. It is the same tool I use in my workshop [citation:3].
What is the difference between a dead pixel and a stuck pixel?
A dead pixel is permanently black and never lights up. A stuck pixel is a bright red, green, blue, or white dot that stays on one color. Stuck pixels can sometimes be fixed; dead pixels cannot [citation:8].
Final Thoughts: Peace of Mind is Worth 30 Seconds
You spend a lot of money on your iPhone. You deserve to know that the screen is perfect. My challenge to you is simple: take 30 seconds right now, open our tool, and test your screen.
If it passes, you have peace of mind. If it fails, you have a clear case for a return or a warranty claim. And if you have any questions, my team and I are always here to help.
🔍 Test Your New iPhone Screen Now
Related Guides
- iPhone Screen Test: The Technician's Guide to Spotting Hidden Defects
- Dead Pixel vs Stuck Pixel: What's the Difference?
- The Stuck Pixel Fix That Actually Works
- What is a Dead Pixel? The Complete 2026 Guide
- What is Screen Burn-in? How to Detect, Prevent, and Fix It
- How to Test a Used Monitor Before Buying
- How to Test Your Monitor Like a Pro: 5 Essential Checks
- Screen Tests for Every Device: A Technician's Complete Guide
- OLED vs LCD: Which Display Technology Is Better?
- The Ultimate Monitor Buying Guide 2026
💬 Leave a Comment
Have a question or something to add? Share your thoughts below.
Loading comments...