 SCREEN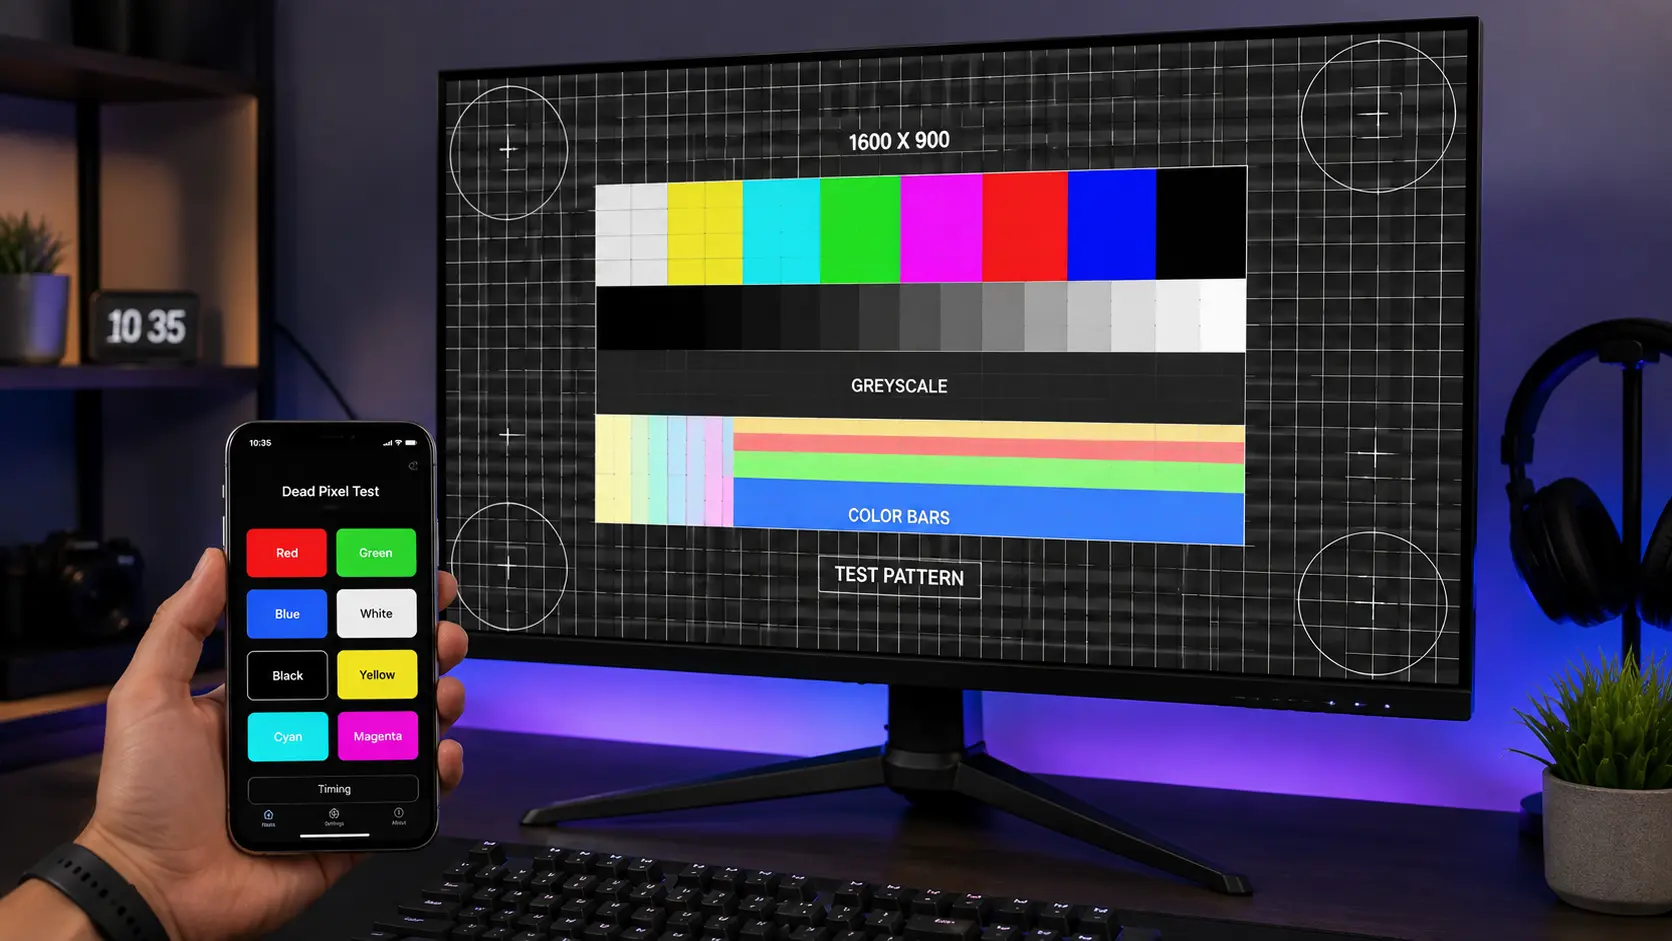
📌 Quick Summary: A professional monitor test takes less than 60 seconds. This guide walks you through the 5 essential checks every display owner should perform — dead pixels, uniformity, ghosting, refresh rate, and OLED burn-in. No downloads required.
I still remember the day I unboxed my first "serious" monitor. A 27-inch IPS panel I'd saved for months to buy. I plugged it in, opened a game, and immediately noticed something was off. The whites weren't uniform. There was a faint yellowish tint in the bottom-left corner. And during fast motion, everything smeared into a blurry mess.
I spent the next three days researching, testing, and eventually returning the monitor. Three days of frustration that could have been avoided if I'd known one simple thing: how to properly test a monitor before the return window closes.
That experience is why I built Screen Medic — a free, browser-based diagnostic tool that runs the same tests professional calibrators use. And it's why I'm writing this guide today: to help you avoid the mistakes I made.
Whether you just bought a new monitor, you're troubleshooting a display issue, or you simply want to know if your screen is performing at its best, this guide will walk you through the 5 essential checks every display owner should perform. No technical background required. No downloads. Just your browser and 60 seconds of your time.
Why Monitor Testing Matters (More Than You Think)
Here's a truth most people learn too late: most monitors ship with defects. Not catastrophic ones — but subtle issues that affect color accuracy, motion clarity, and long-term reliability.
According to industry data, a significant percentage of consumer monitors have at least one dead pixel, uniformity issue, or backlight bleed problem out of the box. Most manufacturers consider these "within spec" — meaning you can't return the monitor for a single dead pixel or a bit of corner bleed.
But here's the thing: you can return it for other reasons. Most retailers offer a 14–30 day return window with no questions asked. That's your window of opportunity. Test your monitor thoroughly in the first week, and if you find something you don't like, return it. Don't wait.
Beyond the return window, testing your monitor regularly helps you:
- Catch defects early — Before they become permanent or widespread
- Verify your settings — Make sure your monitor is actually running at its advertised specs
- Diagnose problems — If something feels off, testing tells you exactly what's wrong
- Protect your investment — A $400 monitor deserves more than a casual glance
Ready to get started? Let's walk through the 5 essential checks, in the order I recommend performing them. You can run all five using our free Screen Medic diagnostic tool, or manually with solid color images.
Check #1: Dead Pixel Detection
What it catches: Dead pixels, stuck pixels, and sub-pixel defects
Time required: 30–60 seconds
Difficulty: Easy
Dead pixels are the most common display defect — and the most misunderstood. A dead pixel appears as a tiny black dot that stays black on every background. A stuck pixel appears as a bright red, green, blue, or white dot that doesn't change color.
Both are annoying. But only one is permanent. And knowing the difference can save you from an unnecessary return — or help you catch a legitimate defect before your window closes.
How to Test for Dead Pixels
The best way to test for dead pixels is to display solid colors — white, black, red, green, and blue — full-screen, one at a time, and inspect carefully.
Using our free diagnostic tool, this test runs automatically. It cycles through all five colors, and you simply watch for any anomalies.
Here's how to interpret what you see:
- Black dot on every color → Dead pixel. Not fixable. Return if possible.
- Bright dot that disappears on one color → Stuck pixel. Often fixable.
- Faint discoloration around a pixel → Sub-pixel defect. May be fixable.
For a deeper dive into dead pixels — including warranty policies, brand-specific coverage, and what to do if you find one — read our Complete Dead Pixel Guide.
And if you're not sure whether you have a dead pixel or a stuck pixel, our comparison article Dead Pixel vs Stuck Pixel walks you through the 60-second test to identify each type.
Check #2: Screen Uniformity
What it catches: Clouding, backlight bleed, dirty screen effect, color tinting
Time required: 30 seconds
Difficulty: Easy
Uniformity is the most overlooked — and often the most frustrating — monitor issue. It refers to how evenly your screen displays brightness and color across its entire surface.
A perfect monitor shows a pure, even white across the entire screen. In reality, most monitors have some degree of non-uniformity. The question is: how much is acceptable?
Common Uniformity Issues
- Clouding — Blotchy, uneven brightness, often visible on dark backgrounds
- Backlight bleed — Light leaking from the edges, especially corners
- Dirty screen effect (DSE) — A subtle "dirty" texture visible during panning motion
- Color tinting — A slight color shift (yellow, blue, or pink) in certain areas
IPS panels are especially prone to backlight bleed. VA panels often show clouding. And all LCD panels can develop uniformity issues over time.
How to Test for Uniformity
Display a full white screen. Then display a full black screen. Then display a 50% gray screen. Inspect each one carefully.
Our free diagnostic tool includes a dedicated uniformity check that displays these exact patterns.
Here's what to look for:
- Corners brighter than the center? → Backlight bleed
- Blotchy patches on black? → Clouding
- Uneven color on white? → Color tinting
- Visible texture during motion? → Dirty screen effect
Pro tip: Test uniformity in a dark room for the most accurate results. Ambient light can mask subtle issues.
Check #3: Ghosting and Motion Clarity
What it catches: Motion blur, ghosting, inverse ghosting, slow pixel response
Time required: 30 seconds
Difficulty: Easy
Ghosting is the bane of every gamer's existence. It's a motion artifact where moving objects leave a faint trail behind them — like a ghost following the original image.
Unlike dead pixels or burn-in, ghosting isn't permanent damage. It's a settings issue. And in most cases, it can be fixed in under 10 minutes.
How to Test for Ghosting
The best way to test for ghosting is to display fast-moving objects and watch for trailing. Our free diagnostic tool includes a dedicated ghosting test with moving patterns.
You can also use the Blur Busters UFO Test at testufo.com — the industry standard for motion clarity testing.
Here's how to interpret what you see:
- Faint trail behind moving objects → Regular ghosting (response time too slow)
- Bright halos around moving objects → Inverse ghosting (overdrive too high)
- Sharp, clean motion → Your monitor is well-configured
For a complete guide to fixing ghosting — including brand-specific overdrive settings — read our Monitor Ghosting Explained article.
Check #4: Refresh Rate Verification
What it catches: Incorrect refresh rate settings, cable limitations, GPU issues
Time required: 10 seconds
Difficulty: Easy
This is the check most people skip — and the one that can make the biggest difference. Many users buy a 144Hz or 240Hz monitor but never actually enable the higher refresh rate in their operating system.
The result? They're using a premium gaming monitor at 60Hz without realizing it. That's like buying a sports car and never taking it out of first gear.
How to Verify Your Refresh Rate
Our free diagnostic tool includes a refresh rate test that confirms your monitor is running at the correct Hz.
You can also verify it manually:
- Windows: Right-click desktop → Display settings → Advanced display settings → Choose a refresh rate
- macOS: System Settings → Displays → Refresh Rate
- Check your monitor's OSD: Most monitors display the current refresh rate in their on-screen menu
If the option is grayed out or missing, you might need a better cable. HDMI 1.4 caps at 144Hz for 1080p — for higher resolutions or refresh rates, you need DisplayPort 1.2 or 1.4.
For a complete guide to refresh rates — including which one is right for your needs — read our Refresh Rate Guide.
Check #5: OLED Burn-In Scan
What it catches: Image retention, permanent burn-in, uneven pixel aging
Time required: 30 seconds
Difficulty: Easy
If you own an OLED display — whether it's a TV, monitor, or laptop — burn-in is the one issue you need to monitor regularly. Unlike LCD, OLED pixels degrade unevenly over time, and static content (logos, taskbars, HUDs) can leave permanent ghost images.
But here's the good news: most "burn-in" is actually temporary image retention. And image retention can often be fixed.
How to Test for Burn-In
Our free diagnostic tool includes a dedicated OLED burn-in scan that displays solid colors — white, gray, red, green, blue, and black — to reveal any ghost images.
Here's what to look for:
- Faint logo or menu bar visible on solid colors → Possible burn-in or image retention
- Pattern disappears after 1 hour off → Image retention (fixable)
- Pattern persists after 1 hour off → True burn-in (permanent)
For a complete guide to detecting, preventing, and fixing burn-in, read our Complete Screen Burn-In Guide. And if you've confirmed burn-in and want to try fixing it, our 5 Proven Methods to Fix Screen Burn-In walks you through every option.
Bonus Check: Color Accuracy (For Professionals)
What it catches: Color shift, inaccurate gamma, poor calibration
Time required: 5–10 minutes
Difficulty: Intermediate
If you're a designer, photographer, or video editor, color accuracy matters more than anything else. A monitor that displays slightly inaccurate colors can lead to work that looks great on your screen but wrong everywhere else.
While our tool doesn't include a full color calibration test, you can use free tools like Lagom LCD Test or EIZO Monitor Test to check gradient smoothness, gamma, and color accuracy.
For professional work, consider investing in a hardware calibrator like the Datacolor Spyder or X-Rite i1Display. They cost $150–300 but pay for themselves in accurate, consistent work.
How Often Should You Test Your Monitor?
Here's my recommended schedule:
- New monitor: Test immediately after unboxing, within the return window
- Monthly: Quick dead pixel and uniformity check
- Quarterly: Full 5-check diagnostic
- After moving or transporting: Test for new damage
- OLED displays: Burn-in scan monthly
The whole process takes less than 5 minutes. It's worth it — especially if you've invested in a quality display.
What to Do If You Find an Issue
Here's a quick decision tree based on what you find:
- Dead pixel: If within return window, return it. If not, check warranty policy — most require 3+ dead pixels for replacement.
- Stuck pixel: Try software methods first (color cycling). If that fails, try gentle pressure. Read our stuck pixel fix guide.
- Uniformity issue: If severe and within return window, return it. Otherwise, live with it.
- Ghosting: Adjust overdrive settings. Most cases are fixable in under 10 minutes.
- Incorrect refresh rate: Update your display settings and cable. Easy fix.
- Burn-in: Run pixel refresh. If it persists, document it and check warranty coverage.
Final Thoughts: A 60-Second Habit That Saves You Money
Testing your monitor isn't glamorous. It's not something most people think about. But it's one of the smartest habits you can build as a display owner.
Here's why: the return window is your only real leverage. Once it closes, you're at the mercy of warranty policies that often require 3+ dead pixels or other strict thresholds. A single dead pixel on a $400 monitor? Most manufacturers will say it's "within spec."
But if you test within the first 14–30 days, you can return it — no questions asked. That's power.
So here's my challenge to you: run a full diagnostic on your monitor today. It takes 60 seconds. It costs nothing. And it could save you from months of frustration — or hundreds of dollars in unnecessary repairs.
Use our free Screen Medic diagnostic tool to run all 5 checks in one go. No download. No signup. No data collection. Just a fast, accurate picture of your screen's health.
🔍 Start Your Free Monitor Test Now
Related Guides
Expand your display knowledge with these related articles:
- What is a Dead Pixel? The Complete 2026 Guide to Detection, Warranty, and Fixes
- Dead Pixel vs Stuck Pixel: What's the Difference? (2026 Guide)
- Monitor Ghosting Explained: Causes, Tests, and How to Fix It (2026 Guide)
- What is Screen Burn-In? How to Detect, Prevent, and Fix It (2026 Guide)
- How to Fix Screen Burn-In — 5 Proven Methods (2026 Guide)
- The Ultimate Monitor Buying Guide 2026
💬 Leave a Comment
Have a question or something to add? Share your thoughts below.
Loading comments...