 SCREEN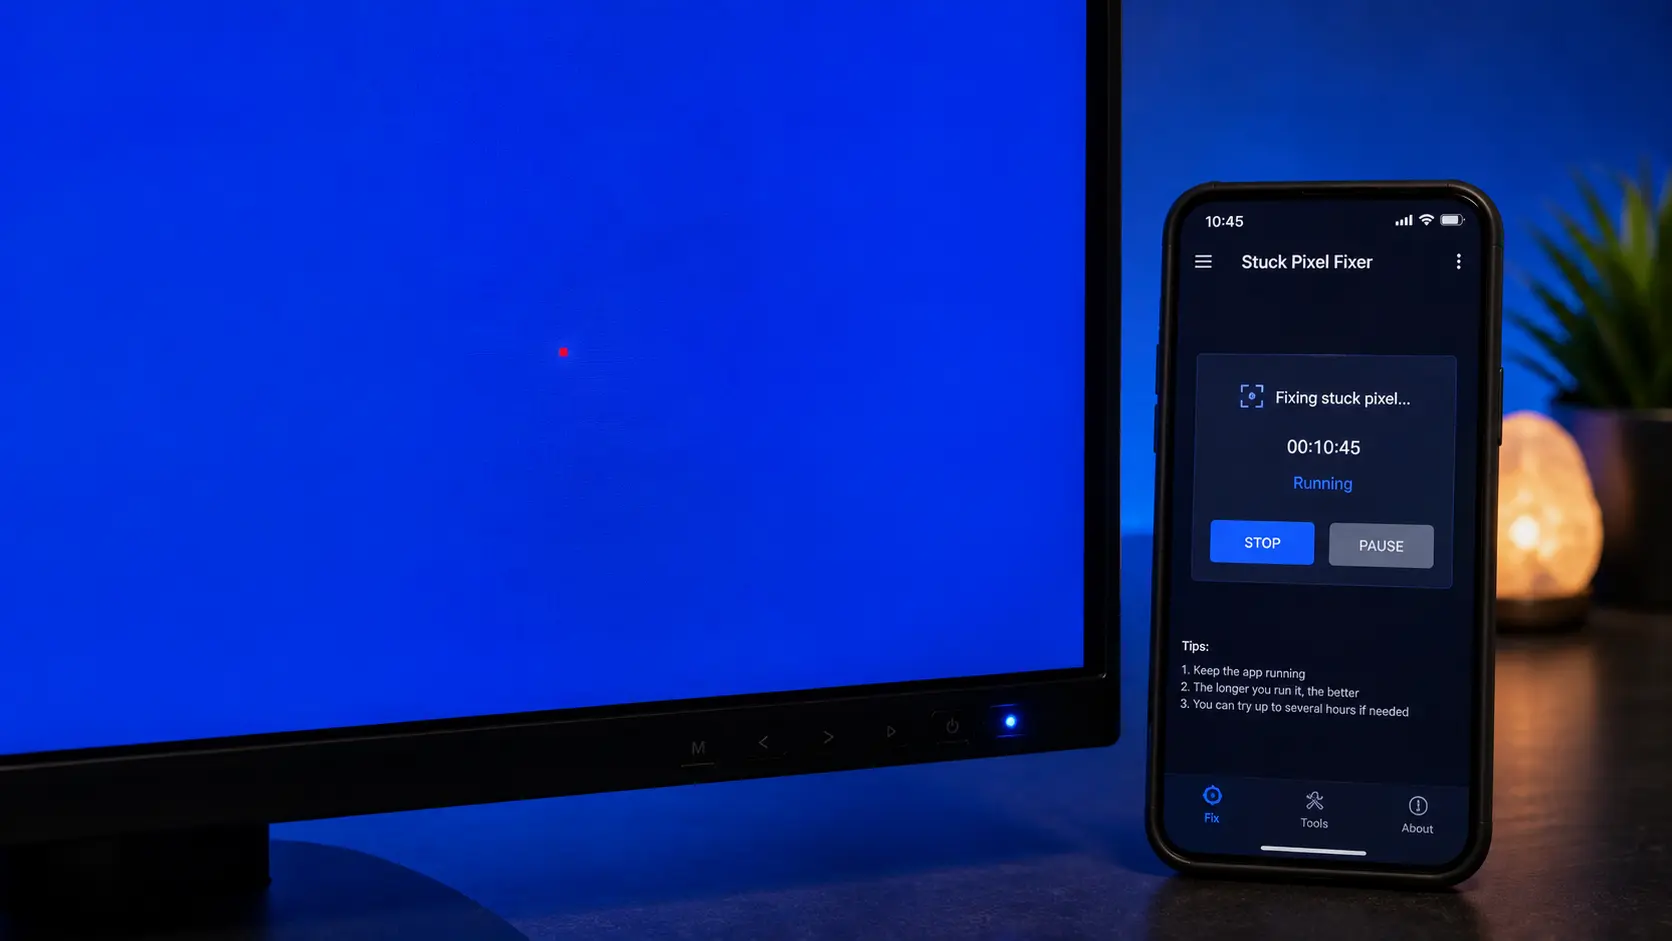
📌 Quick Summary: Stuck pixels are pixels that remain on a single color (red, green, blue, or white). Unlike dead pixels, they still receive power and can often be fixed. Start with software methods (safest), then try gentle physical techniques if needed.
I still remember the panic. I had just unboxed a brand-new monitor — a 27-inch IPS panel I'd saved for months to buy. I plugged it in, opened a game, and there it was: a tiny bright green dot in the middle of the screen.
I rubbed it. I restarted my PC. I even tried the "rice trick" (don't ask). Nothing worked.
After a day of research, I discovered something important: it wasn't a dead pixel. It was a stuck pixel. And stuck pixels can often be fixed — if you know what you're doing.
That experience is why I built the Screen Medic diagnostic tool. I wanted a free, simple way for anyone to identify and potentially fix pixel issues — without downloading sketchy software or paying for expensive repair services.
This guide will walk you through the 5 most effective methods to fix stuck pixels, ranked from safest to most aggressive. I'll also explain how to tell the difference between a stuck pixel and a dead pixel, since only one of them can be fixed.
Stuck Pixel vs Dead Pixel: The Critical Difference
Before you try any fix, you need to know what you're dealing with. There are two types of pixel defects, and they have completely different outcomes.
Stuck Pixel (Often Fixable)
A stuck pixel is a pixel that remains on a single color — usually red, green, blue, or white. It still receives power and responds to signals, but the liquid crystals inside are frozen in one position.
Stuck pixels can often be fixed. The key is stimulating the liquid crystals to return to normal behavior.
Dead Pixel (Not Fixable)
A dead pixel is a pixel that has completely stopped working. It appears as a black dot on every background. The transistor that controls it has failed, and no signal reaches the pixel.
Dead pixels cannot be fixed. No software, no pressure, no heat will bring them back. The only solution is a panel replacement — which is rarely worth the cost.
How to Tell the Difference in 60 Seconds
Use our free Screen Medic diagnostic tool and run the Dead Pixel Detection test. It cycles through solid colors — white, black, red, green, blue — and reveals exactly what you're dealing with.
Here's how to interpret the results:
- If the dot stays black on EVERY color → Dead pixel. Not fixable.
- If the dot disappears on one specific color → Stuck pixel. Often fixable.
- If the dot is bright on dark backgrounds → Stuck pixel (likely red, green, blue, or white).
For a complete comparison, read our article: Dead Pixel vs Stuck Pixel: What's the Difference?
And for a deep dive into dead pixels specifically, read our Complete Dead Pixel Guide.
Method 1: Software Pixel Fixing (Safest)
Best for: Most stuck pixels
Success rate: 60–80%
Risk: None
The safest and most effective way to fix a stuck pixel is to use software that rapidly cycles colors on the affected area. This stimulates the liquid crystals and can "unstick" them.
Our free Screen Medic diagnostic tool includes a rapid color cycling feature. Here's how to use it:
- Open our diagnostic tool in your browser
- Run the Dead Pixel Detection test
- Position the flashing animation directly over the stuck pixel area
- Let it run for 10–20 minutes
- Check the pixel — if it's fixed, great! If not, repeat
You can also find dedicated pixel fixer tools online. Some popular options include:
- JScreenFix — A free browser-based pixel fixer
- PixelHealer — A free Windows tool
- UDPixel — Another free Windows tool
Why it works: The rapid color changes exercise the liquid crystals in the stuck pixel, encouraging them to return to normal function. It's like physical therapy for your pixel.
Pro tip: Some users report success by running the animation for hours at a time. If 20 minutes doesn't work, try a longer session.
Method 2: Gentle Pressure Method
Best for: Stubborn stuck pixels
Success rate: 50–70%
Risk: Moderate (can damage the screen if done incorrectly)
This method uses gentle physical pressure to "reset" the stuck pixel. It's more aggressive than software, but often more effective for stubborn pixels.
How to do it:
- Turn off your monitor completely — not standby, not sleep. Off.
- Clean the screen — use a microfiber cloth to remove dust and fingerprints.
- Find the stuck pixel — you should know its exact location from the diagnostic test.
- Place a soft cloth over the pixel — a microfiber cloth works best.
- Apply gentle pressure — use a soft, rounded object (a pencil eraser, a stylus, or your finger). Press firmly but gently — you should see a slight discoloration around the pressure point, but no permanent damage.
- Hold for 5–10 seconds — maintain pressure without moving.
- Turn the monitor back on — while still applying pressure.
- Release the pressure — after the monitor is on and displaying an image.
- Check the pixel — if it's fixed, great! If not, repeat 2–3 times.
⚠️ Warning: Too much pressure can crack the screen or damage surrounding pixels. Be extremely careful. If you see any permanent discoloration, stop immediately.
Why it works: The pressure can physically manipulate the liquid crystals in the stuck pixel, helping them return to their normal state. The sudden electrical activation (turning the monitor on while pressing) can also help.
My experience: I've successfully fixed stuck pixels on three different monitors using this method. It's not guaranteed, but it works more often than you'd expect.
Method 3: Tapping Method
Best for: Stuck pixels that resist other methods
Success rate: 40–60%
Risk: Low to moderate
The tapping method is a gentler alternative to the pressure method. It uses vibration rather than direct pressure to stimulate the pixel.
How to do it:
- Turn on your monitor and display a solid black image (use our diagnostic tool).
- Locate the stuck pixel — you should see a bright dot against the black background.
- Use a soft, rounded object — the cap of a marker pen, a soft eraser, or your knuckle.
- Gently tap the pixel area — 10–20 times, with moderate force. You're not trying to break the screen — just vibrate it.
- Check the pixel — if it's fixed, great! If not, repeat.
⚠️ Warning: Do not use anything sharp or metallic. Do not tap too hard. If you see any permanent discoloration, stop immediately.
Why it works: The vibration can jolt the liquid crystals back into proper alignment. It's less effective than direct pressure, but also less risky.
Method 4: Heat Method
Best for: Stuck pixels that resist software and pressure methods
Success rate: 30–50%
Risk: Moderate (heat can damage the panel)
The heat method uses gentle warmth to expand the liquid crystals and help them return to normal function. It's a bit more involved than the other methods, but can work when others fail.
How to do it:
- Turn off your monitor — completely off.
- Prepare a warm compress — dip a clean microfiber cloth in warm (not hot) water. Wring it out thoroughly.
- Place the cloth in a sealed plastic bag — this prevents moisture from reaching the screen.
- Apply the compress to the stuck pixel area — hold it against the screen for 5–10 seconds.
- Remove the compress — and turn the monitor back on.
- Check the pixel — if it's fixed, great! If not, repeat 3–4 times.
⚠️ Warning: Do not use hot water. Do not apply heat for too long. Excessive heat can permanently damage the panel. If you see any discoloration or distortion, stop immediately.
Why it works: The warmth can slightly expand the liquid crystals, helping them return to normal function. It's a gentle, non-invasive approach — but not as effective as pressure methods.
Method 5: Wait It Out
Best for: New stuck pixels, or pixels in non-critical areas
Success rate: 10–20%
Risk: None
Sometimes, stuck pixels resolve on their own. If the pixel isn't in a distracting location, simply continue using your device normally. The constant changing of colors during normal use can gradually unstick the pixel over time.
Give it 1–2 weeks of normal use. If the pixel is still stuck after that, try the other methods.
Pro tip: Running a full-screen video or game for a few hours can speed up the process. The constant color changes stimulate the pixel.
What NOT to Do: Common Myths and Dangerous Methods
I've seen a lot of bad advice online. Here are methods that don't work — and can actually damage your screen:
- ❌ Rice method — Placing rice near the screen does absolutely nothing. Rice doesn't absorb pixel damage.
- ❌ Hair dryer — Can damage the panel permanently. Heat warps liquid crystals.
- ❌ Pressing hard on the screen — Can crack the panel and make the problem worse.
- ❌ Freezer method — Condensation destroys electronics. Never put your screen in the freezer.
- ❌ Magnets — No effect on OLED or LCD panels. Only affected old CRT monitors.
- ❌ Magic "pixel fixer" software — Most don't work and can make the problem worse.
- ❌ Rubbing alcohol or cleaning solutions — Can damage the screen coating.
If a guide suggests any of these methods, close the tab. It's misinformation.
When to Use Your Warranty
If none of the methods above work, you might be dealing with a dead pixel — or a stuck pixel that simply won't budge. In that case, check your warranty.
Most manufacturers have a pixel policy that defines how many dead or stuck pixels are acceptable. Here's the reality:
- Single stuck pixel: Most manufacturers will NOT replace a screen for just one stuck pixel. They typically require 3–5 defective pixels.
- Clustered pixels: Multiple stuck pixels grouped together are more likely to qualify for replacement.
- Bright stuck pixels: Bright stuck pixels (always ON) are often considered more serious than dark dead pixels.
- Brand-specific policies: Dell, LG, Samsung, and ASUS each have different pixel policies. Check your specific model's warranty documentation.
For a complete breakdown of warranty policies by brand, read our Complete Dead Pixel Guide.
Important: If you damage the screen while attempting pressure or tap methods, the manufacturer may refuse warranty coverage. Be careful.
How to Prevent Future Stuck Pixels
While most stuck pixels are manufacturing-related and beyond your control, you can reduce the risk of new ones:
- Clean gently — Use a microfiber cloth with light pressure. Never press hard on the screen.
- Close your laptop carefully — Nothing should be on the keyboard when you close the lid.
- Use a surge protector — Protects against electrical damage that can cause pixel issues.
- Avoid extreme temperatures — Heat and cold can affect pixel behavior.
- Enable screensavers — Reduces the risk of burn-in (a different issue, but related).
- Don't leave static content for hours — Especially on OLED displays. Learn more in our Screen Burn-In Guide.
How to Test Your Screen After Fixing
Once you've tried one or more methods, test your screen again to verify the pixel is fixed. Use our free Screen Medic diagnostic tool to run a complete test:
- Dead Pixel Detection — Check for stuck and dead pixels
- Uniformity Check — Ensure no new issues were introduced
- Ghosting Test — Verify motion clarity
- Refresh Rate Verdict — Confirm correct Hz
- OLED Burn-In Scan — For OLED displays
For a complete guide to testing, read our article: How to Test Your Monitor Like a Pro: 5 Essential Checks.
Final Thoughts: Don't Give Up Too Soon
Stuck pixels are frustrating — but they're often fixable. I've successfully fixed stuck pixels on multiple monitors using the methods in this guide. The key is patience and persistence.
Here's my recommended order:
- Try software methods first — They're safe and often effective. Run the animation for 20 minutes, then longer if needed.
- If that fails, try gentle pressure — Be careful, but don't be afraid. Most screens can handle gentle pressure.
- If that fails, try tapping — It's less effective but less risky.
- If that fails, try heat — It's the most aggressive method, but can work when others fail.
- If nothing works, check your warranty — You might qualify for a replacement.
And remember: a single stuck pixel is not the end of the world. If it's in a non-critical area, you may stop noticing it after a few days. But if it bothers you, don't give up. Keep trying.
Use our free Screen Medic diagnostic tool to identify your pixel issue and track your progress.
🔍 Test Your Screen for Stuck Pixels Now
Related Guides
Expand your screen health knowledge with these related articles:
- Dead Pixel vs Stuck Pixel: What's the Difference?
- What is a Dead Pixel? The Complete 2026 Guide to Detection, Warranty, and Fixes
- How to Test Your Monitor Like a Pro: 5 Essential Checks (2026 Guide)
- What is Screen Burn-In? How to Detect, Prevent, and Fix It (2026 Guide)
- Monitor Ghosting Explained: Causes, Tests, and How to Fix It (2026 Guide)
- The Ultimate Monitor Buying Guide 2026: How to Choose the Perfect Screen
💬 Leave a Comment
Have a question or something to add? Share your thoughts below.
Loading comments...