 SCREEN

📌 Quick Answer: A dead pixel is a permanently black dot that never changes color. Unlike a stuck pixel (which stays on one bright color), a dead pixel cannot be fixed. Test it in 60 seconds with our free diagnostic tool, then use our warranty guide below to decide whether to return or replace your screen.
What is a Dead Pixel? (The 30-Second Answer)
A dead pixel is a single pixel that has permanently stopped working. It appears as a tiny black dot on your screen — visible on every background, including a full white screen.
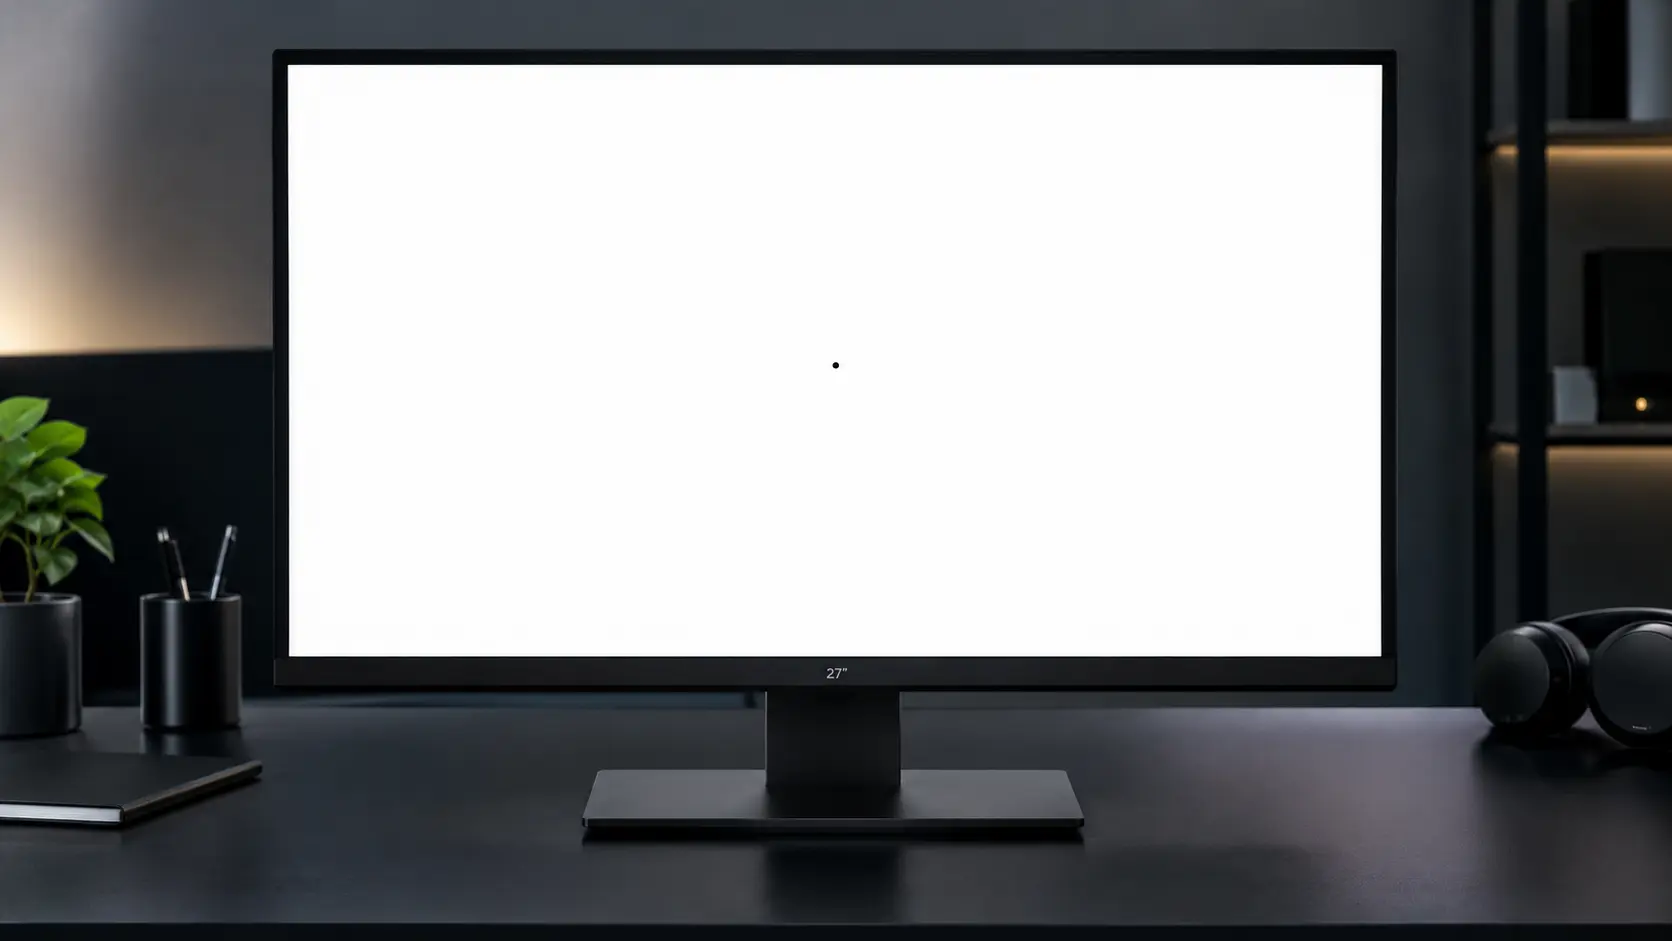
Example of a dead pixel on a white screen
Inside every pixel are three sub pixels: red, green, and blue. When all three fail, the pixel goes dark forever. The transistor that controls it has burned out, and no signal reaches it anymore.
Here is the hard truth nobody tells you upfront: dead pixels cannot be fixed. They are permanent hardware failures. No software, no pressure, no "rice trick" will bring them back. The only real fix is a panel replacement.
But here is the good news: you may not have a dead pixel at all. Most people confuse dead pixels with stuck pixels — and stuck pixels can often be fixed in minutes.
Dead Pixel vs Stuck Pixel: Know Which One You Have
This is the single most important distinction in this entire guide. Get this wrong, and you will waste time (or money).
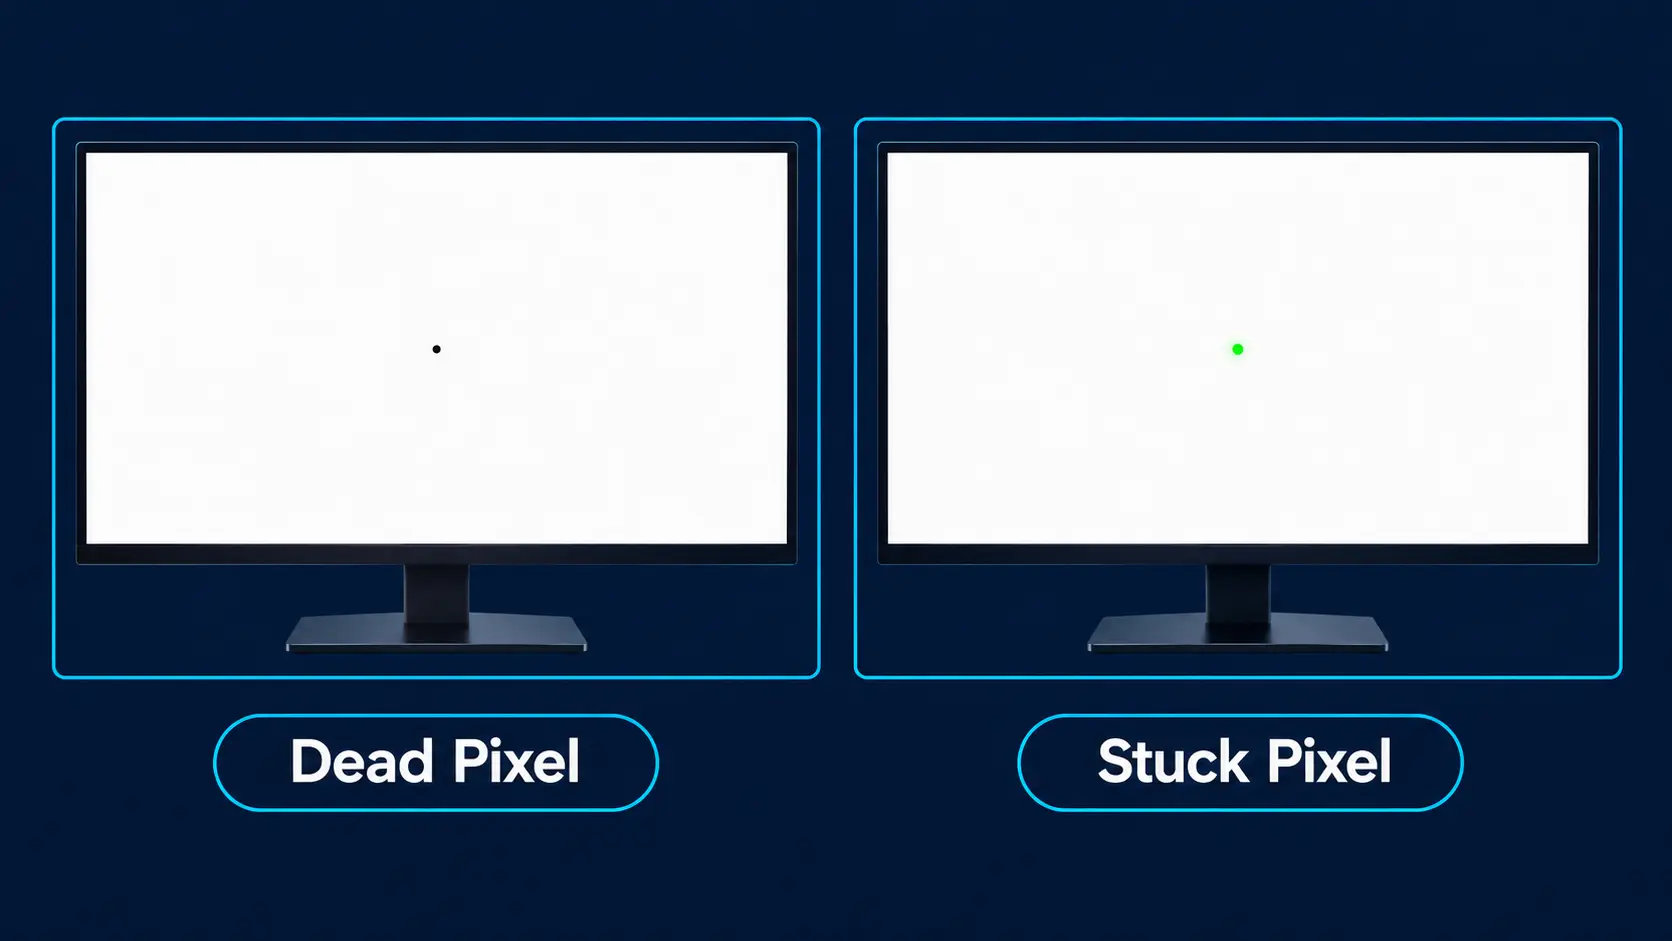
Dead pixel (left) vs stuck pixel (right)
For a full breakdown, read our dedicated article: Dead Pixel vs Stuck Pixel: What's the Difference?
How to Test Your Screen in 60 Seconds (Step by Step)
Follow these exact steps. No technical knowledge needed.
Method 1: Our Free Online Tool (Fastest)
Our free Screen Medic diagnostic tool runs the entire test automatically in your browser. No download, no signup, no data collection.

Our free diagnostic tool running a test
- Open the tool → https://screenmedic.icu/tool.php
- Enter fullscreen (F11 on Windows, Ctrl+Cmd+F on Mac)
- Let the colors cycle — white, black, red, green, blue
- Inspect each color carefully, looking for anomalies
- Note the position of any defect you find
Method 2: Manual Test (No Tool Required)
If you prefer to test manually, here is exactly what to do:
- Clean your screen — dust and fingerprints can look like defects.
- Set brightness to maximum — it makes defects easier to spot.
- Display a pure white screen — a blank Word document works.
- Switch to black, red, green, blue — check each color for anomalies.
- Note any persistent dots — those are your pixels of concern.
Pro tip: Test in a dark room. Ambient light can mask subtle defects.
How to Interpret Your Results
- Black dot on EVERY color → Dead pixel. Not fixable.
- Bright dot that disappears on one color → Stuck pixel. Often fixable.
- Faint discoloration around a pixel → sub pixel defect. Case-by-case.
- No anomalies found → Your screen is healthy ✅
🔍 Run the Free Dead Pixel Test Now
Real World Examples: What Dead Pixels Actually Look Like
Example 1: A Single Dead Pixel in the Center
Situation: A user unboxes a new 27" IPS monitor and spots a black dot in the center of the screen.
Test result: The dot stays black on white, red, green, and blue. It is a dead pixel.
Outcome: Returned to the retailer within 14 days. New monitor shipped free of charge.
Example 2: A Stuck Green Pixel in the Corner
Situation: A laptop owner notices a faint green dot in the bottom-right corner.
Test result: The dot disappears on a green background. It is a stuck pixel.
Outcome: Fixed in 15 minutes using our rapid color cycling tool. No replacement needed.
Example 3: A Cluster of Three Dead Pixels
Situation: A user finds three adjacent black dots on a used monitor purchased online.
Test result: All three are dead pixels. Cluster confirmed.
Outcome: Manufacturer approved a warranty replacement — most brands require 3+ pixels for a cluster claim.

A real dead pixel on a colored background
💡 These examples are typical of what thousands of users report to us every month. Your situation is likely similar.
What the Diagnostic Test Can and Cannot Do
Honesty matters. Here is exactly what our tool can and cannot do for you:
✅ What Our Test CAN Do
- Detect dead pixels (black dots that never change)
- Detect stuck pixels (bright dots that stay on one color)
- Reveal uniformity issues (clouding, backlight bleed)
- Detect OLED Burn in and image retention
- Test refresh rate and ghosting
- Confirm whether your monitor is running at its advertised Hz
❌ What Our Test CANNOT Do
- Fix dead pixels — No tool can fix a truly dead pixel.
- Guarantee warranty approval — That depends on your brand.
- Test color accuracy — Requires a hardware calibrator.
- Detect panel defects invisible to the eye — No test can do this.
- Repair physical damage — Cracks, scratches, and impact damage need physical repair.
Bottom line: Our tool is a diagnostic, not a repair. It tells you what is wrong — not how to fix it for free.
Manufacturer Warranty Policies: The Complete 2026 Reference
This is the part most guides gloss over. Here is the truth: most manufacturers will NOT replace your monitor for 1–2 dead pixels.
They follow the ISO 13406-2 standard, which classifies displays into four classes. Most consumer monitors fall under Class II — which allows up to 2 dead pixels per million.
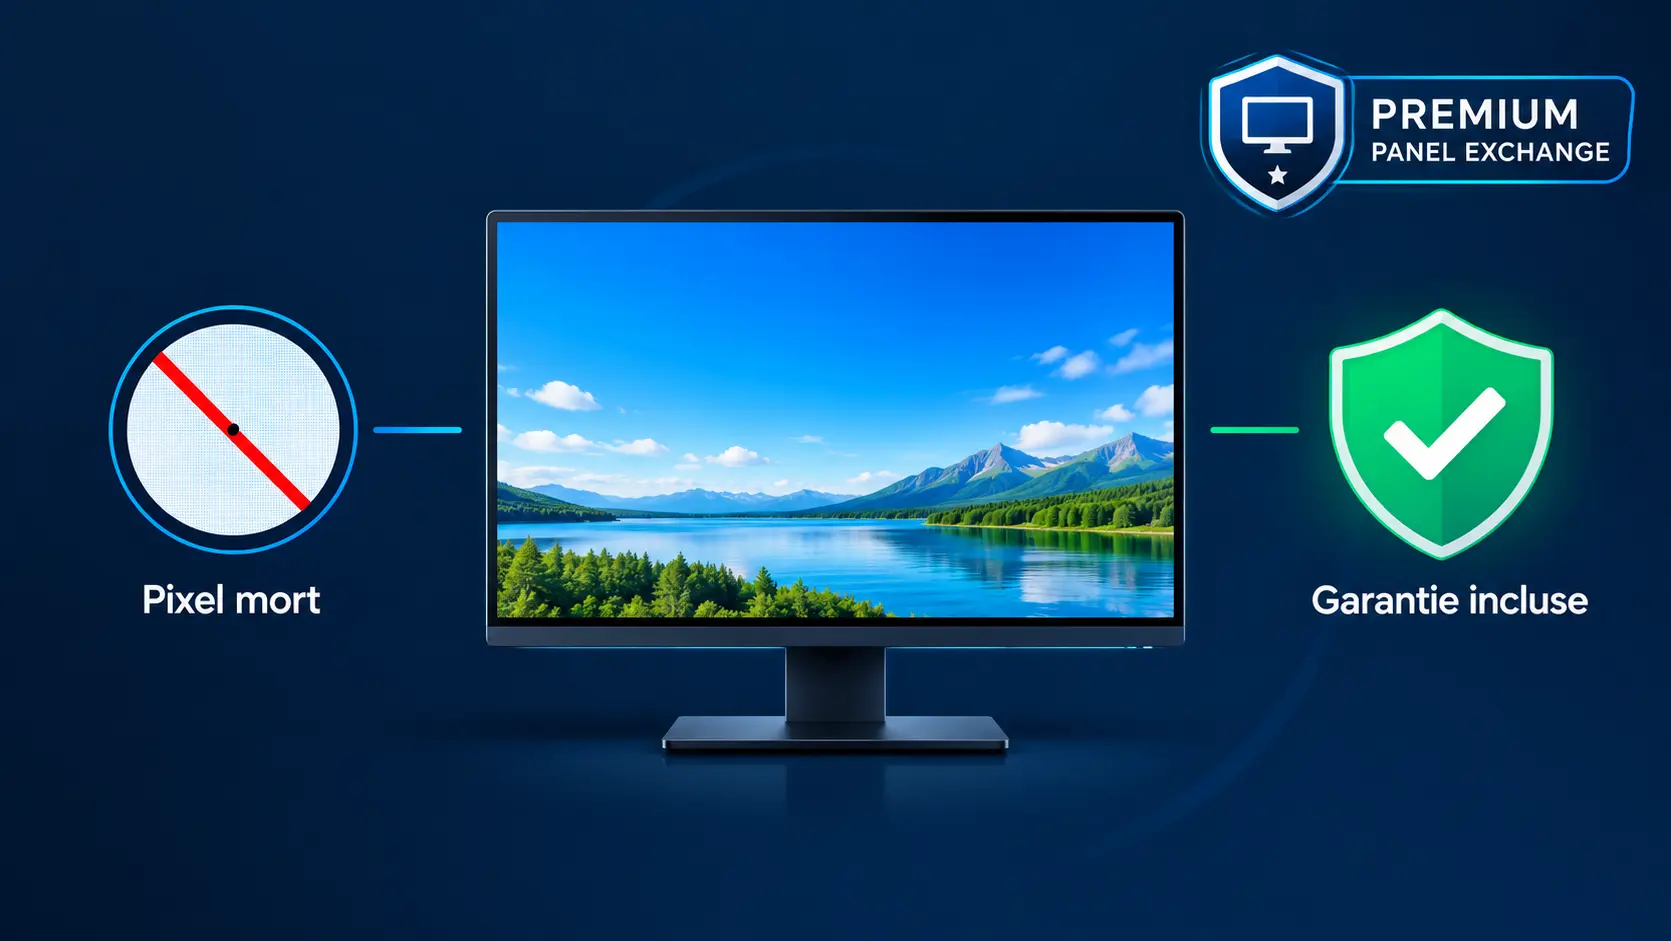
Dell's Premium Panel Exchange offers the best pixel policy
Brand-by-Brand Warranty Comparison
🏆 Best policy: Dell Premium Panel Exchange — they replace any monitor with even 1 bright pixel.
⚠️ Worst policy: Brands requiring 3+ pixels with no bright pixel exception.
When Should You Demand a Replacement?
Use this decision tree to determine your next step.
✅ Return Immediately (Within Return Window)
- You are within 14 to 30 days of purchase
- Retailer accepts returns "no questions asked"
- You found ANY dead pixel — even just one
Action: Return to retailer. Do not go through the manufacturer yet.
⚠️ Contact Manufacturer (After Return Window)
- You are past the retailer return window
- You found 3+ dead pixels (or meet your brand threshold)
- You have the original receipt and packaging
Action: File a warranty claim. Document everything (photos, dates).
❌ Don't Bother
- You found only 1 dead pixel and your brand requires 3+
- You are past the warranty period
- The monitor is old and cheap (repair costs more than replacement)
Action: Live with it, or replace the panel at your own cost.
How to Document a Dead Pixel for Warranty (Step by Step)
If you are filing a claim, documentation is everything. A well-documented claim has a much higher success rate.
- Take clear photos — on white, black, red, green, and blue backgrounds. Use a tripod if possible.
- Note the location — top-left, center, etc. Include a reference point.
- Keep the receipt — original receipt or order confirmation.
- Save the warranty policy — take a screenshot from the manufacturer's site.
- Write a clear description — "One dead pixel in the center of the screen, visible on all colors, confirmed via diagnostic test."
- Keep the packaging — you may need to ship the monitor back.
Pro tip: Attach a screenshot of the diagnostic test result. This is strong evidence.
What Actually Causes Dead Pixels?
Understanding the cause helps you prevent future issues.
1. Manufacturing Defects (Most Common)
Even with strict QC, dead pixels slip through. This is why brands have minimum thresholds — they accept a small failure rate.
2. Physical Damage
Excessive pressure (cleaning, laptop lid closure, drops) can damage the thin film transistor controlling a pixel.
3. Transistor Failure Over Time
Age, heat, and electrical stress can cause transistors to fail eventually.
4. Electrical Surges
Power fluctuations can damage pixel controllers. A surge protector helps.
How to Prevent Future Dead Pixels
- Clean gently — microfiber cloth, light pressure. Never press hard.
- Close your laptop carefully — no objects on the keyboard.
- Use a surge protector — protects against electrical damage.
- Avoid extreme temperatures — heat and cold affect pixel behavior.
- Enable a screensaver — reduces static content exposure (helps with Burn in, not dead pixels).
- Don't leave static content for hours — especially on OLED displays. Read our Complete Burn in Guide.
What About Stuck Pixels? (They're Fixable!)
Remember: stuck pixels are different. They can often be fixed.
We have a complete guide on this: 5 Methods to Fix Stuck Pixels.
Quick summary:
- Software method — Rapid color cycling (safest, 60-80% success)
- Gentle pressure — Soft cloth + pencil eraser (50-70% success)
- Tapping method — Soft object, gentle taps (40-60% success)
- Heat method — Warm compress (30-50% success)
- Wait it out — 1-2 weeks of normal use (10-20% success)
📖 Read: 5 Ways to Fix Stuck Pixels
Frequently Asked Questions
Can I fix a dead pixel for free?
No. Truly dead pixels are permanent. Be wary of any tool claiming otherwise.
Will a dead pixel spread?
No. Dead pixels do not spread to neighboring pixels. But if you have one, others may appear over time.
Should I buy a monitor with a known dead pixel?
Only if heavily discounted AND you can live with it. Otherwise, avoid.
How many dead pixels are acceptable?
According to ISO 13406-2, up to 2-5 per million pixels for Class II panels. But your brand policy is what actually matters.
Do dead pixels get worse over time?
They do not spread, but additional pixels can fail over time, especially on older panels.
Final Checklist: What to Do Right Now
If you suspect a dead pixel, follow this exact order:
- Test it with our free diagnostic tool
- Determine if it's dead or stuck
- If stuck → Try our stuck pixel fix guide
- If dead and within return window → Return immediately
- If dead and past return window → Check your brand's warranty policy
- If applicable → File a warranty claim with full documentation
- If not fixable or replaceable → Decide whether to live with it or replace the panel
🔍 Start Your Free Dead Pixel Test Now
💬 Leave a Comment
Have a question or something to add? Share your thoughts below.
Loading comments...